Showing posts with label appetizer. Show all posts

Spooky {and easy} Halloween Treat - Mummy Dogs!

Hi Friends,

We had a Halloween party last weekend with a Halloween food contest.  My husband kindly told me "they know you have a food blog so it'd better be something good!".  No pressure or anything.  To be honest my time was lacking and I wanted to make something easy.  I don't usually do theme food because it seems complicated and freaks me out, like I'll make it, it won't turn out, then I'll have nothing to bring!  Eeeek!
But, thanks to Pinterest I found something easy and fun!


That's right peeps!  #mummydogs!!  The Pinterest links are here and here.

Although a bit time consuming, these were easy and tasty - who doesn't like a spooky version of pigs-in-a-blanket??

Ingredients:
As many hot dogs as you want (I used 16.  Soy dogs would also work, or veggie dogs, you get it.)
Pillsbury Crescent Roll Dough (I used 1 large can and two small ones, there was a sale, the big guys had run out)

How To:
You can cut your mummy men into actual little men with arms and legs, but this works best if you're using a whole hot dog.  If you want to make this more of an appetizer, you can cut your dogs in half, forget about the arms and legs and just wrap the top and bottom with dough leaving eye holes.  (Check out the Pinterest links for more descriptive photos.)  Making half a dog with arms and legs was a bit tricky and some of those were not presentable and therefore had to be eaten.
So:
Cut your un-cooked dogs.
Unwrap your dough.  I cut the dough into long skinny slices and rolled it between my hands.
Wrap and wrap and wrap your mummies!  Don't worry about it being perfect, it doesn't matter.
Cook on a baking sheet according to dough instructions*
Use ketchup or mustard on a toothpick for the eyes.
Serve up the mummy dudes.

*My Pillsbury package said to use an un-greased cooking sheet.  I would spray the cooking sheet lightly so your mummies don't stick.

Have a Spooky Day!
TCW


Print Friendly and PDF

White Bean, Basil & Lemon Hummus

The Cyclist loves his hummus, so I tried to re-create a white bean basil hummus that is sold at Trader Joe's; this was my second attempt.  And again, mine took a different flavor direction than the TJ's brand.....


....and then I went into TJ's the other day and realized that although they do make a White Bean and Basil Hummus, the one The Cyclist loves is actually Tuscan White Bean.  So I've been trying to match the wrong flavors all along.
Wah-waa.

This hummus turned out tasty just the same, so get out your white beans, basil & lemon and let's go!


I really do believe the key to tasty hummus is to let it sit in the fridge overnight so the flavors can meld.  Here's the stuff and how to...

Ingredients:

1 cup dry white beans or two 14.5 oz cans of white (Navy) beans, drained
2 tbsp olive oil
1 tbsp tahini
juice from 2 large lemons (I used Meyer's)
1 tsp salt
1 tsp lemon zest
1/2 tsp cracked black pepper
1 cup basil leaves, packed
2 cloves garlic, chopped
1 tbsp white balsamic vinegar

How to:

If using dry beans, boil your beans in water until done, it will probably take close to two hours.  Drain and cool in the fridge.
Once beans are cooled (or if you're using canned beans, drain them) and dump into your food processor.  Add all other ingredients and blend until smooth.  Put the hummus in your fridge overnight and enjoy the next day!

P.S.  I'm working on creating a Recipage so that all of my recipes will be easily printable, findable and usable.  More on that later!


Print Friendly and PDF

Bean Salad....in a hurry

I don't know about you, but most things I do are in a hurry.

Hurry, let's get this load of laundry in before I leave for work.
I need to hurry up and get dinner going.
I need to hurry up and get ready.
I don't have much time to get this run in, so let's hurry.

Hurry, hurry, hurry.  Such is life.

Sometimes good things come out of a hurry though.

Take this bean salad for instance.

I made it in a hurry and it was really good.

The best part is all of the ingredients can be changed or adjusted to your liking - you can include or exclude pretty much anything based on what you've got in your fridge and pantry.

Ingredients:
2 14.5oz cans of black beans, drained & rinsed (or about 3 cups of  black beans*)
1 14.5oz can of kidney beans, drained & rinsed
1/2 sliced onion 
1/8 cup chopped cilantro
1tbsp crushed fresh ginger
2 cloves crushed garlic
2 tbsp grapeseed oil
Rice vinegar to taste
Salt & pepper to taste

*I have been buying beans in bulk from my local co-op.  I already had some made, so I used those instead of canned beans.

How to:
Drain & rinse the beans and throw them into the bowl you will be using to serve.
Slice the onion and add it to the beans.
Chop the cilantro and add it to the salad.
Peel the ginger and use your garlic press to crush it, add it to the salad.
Use your garlic press again to crush the garlic, add it to the salad.
Add grapeseed oil and stir everything together.
Add a few shakes of rice vinegar (mine has a funky top that makes it come out slow), taste and add more if you think it needs it.
Add salt & pepper to taste.
Enjoy.

The coolio part of this recipe is you can pretty much change up everything in it to suit what you have or what you like.  Here are some ideas:

Use different beans - chick peas (garbanzo), pinto, all black, all kidney, anything will do.
Add more, less or different vegetables - tomato, bell pepper, carrot, avocado....pretty much anything will work.
Use something different for your spice.  I like ginger and I had it and I put garlic in everything, but jalapeno would also work, or just cilantro by itself.
Change up the oil.  I didn't use olive oil because I thought the flavor would be too strong.  Just as a personal preference I typically use grapeseed instead of vegetable or corn, but any of those would work.
Use a different vinegar or no vinegar at all.  You could probably use white vinegar.  I used rice vinegar because it's a tad sweet.  But I think salsa would have worked well in it's place too.

You can also find this at Tasty Kitchen!

Have a nice day,
TCW

**I've shared this recipe at the following sites - follow the links for more great and tasty recipe ideas.


Print Friendly and PDF

Costa Rican Black Bean Dip

Let me start by saying there is not actually anything Costa Rican about this dip.

I took a trip to Costa Rica about 6 years ago...


...the only store was a tiny market that sold mostly canned food and some refrigerated stuff.

We spent all of our nights eating out, but on some days, we needed an afternoon snack.

Costa Rican Black Bean Dip was born.

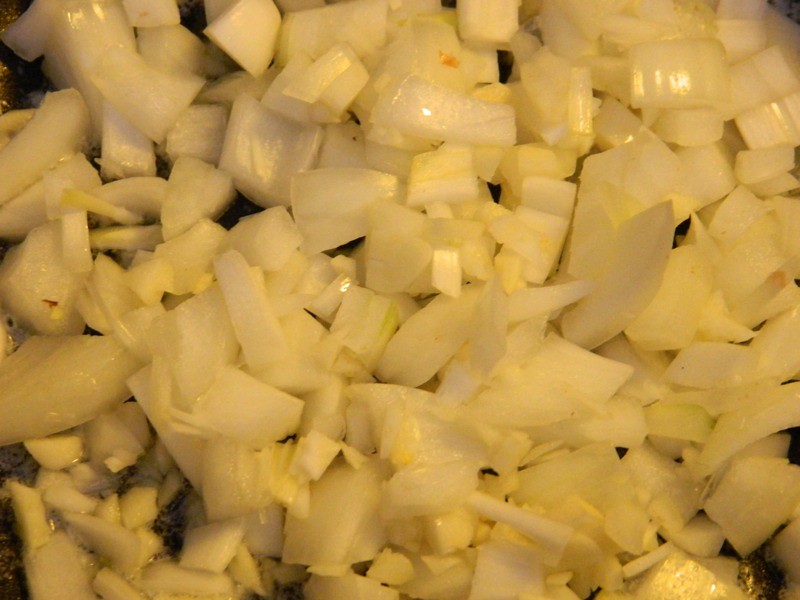
Start with some white or yellow onion and garlic (chopped & minced)...


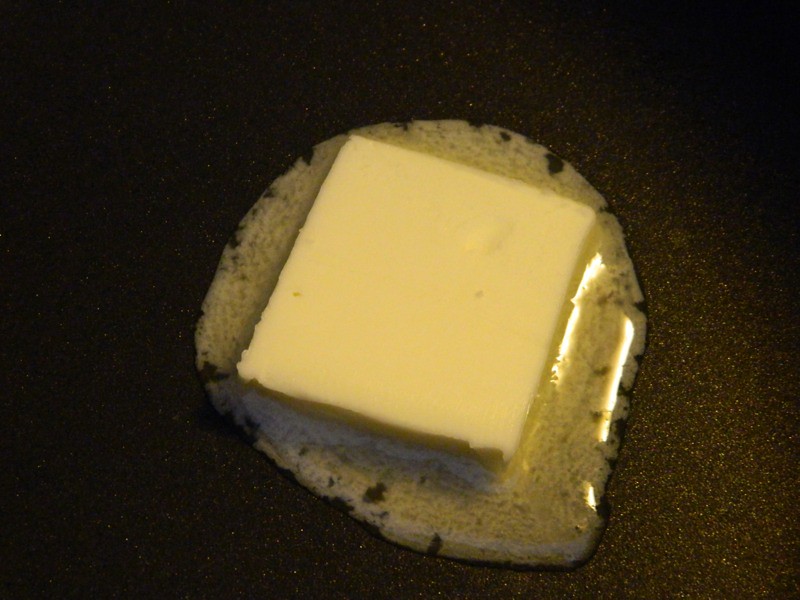
Melt a pad of butter in a medium-hot sauce pan...


...BTW, did you know a "cube" of butter is 2 tablespoons or 2 ounces?
Interesting.

Meanwhile, once your "cube" of butter has melted, 
throw in the onion and garlic and saute...


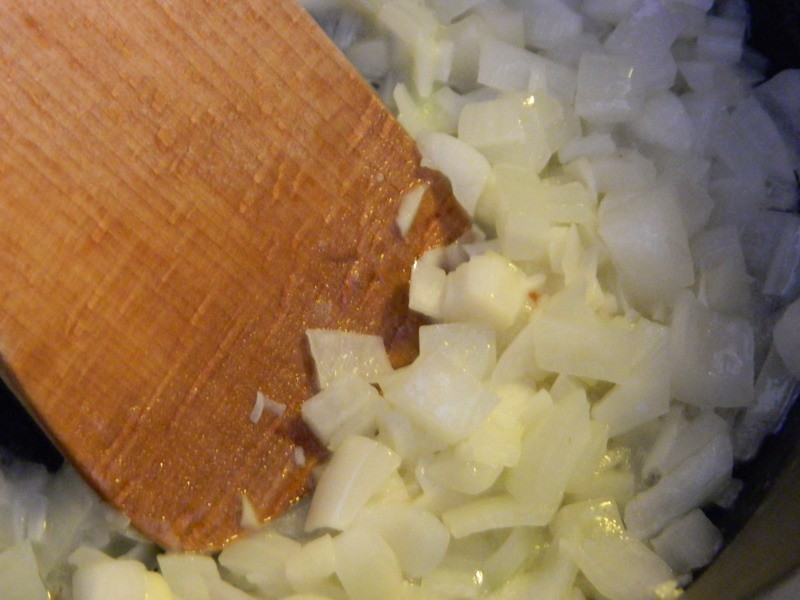
...stir it all around.
Once your onion starts to get translucent....


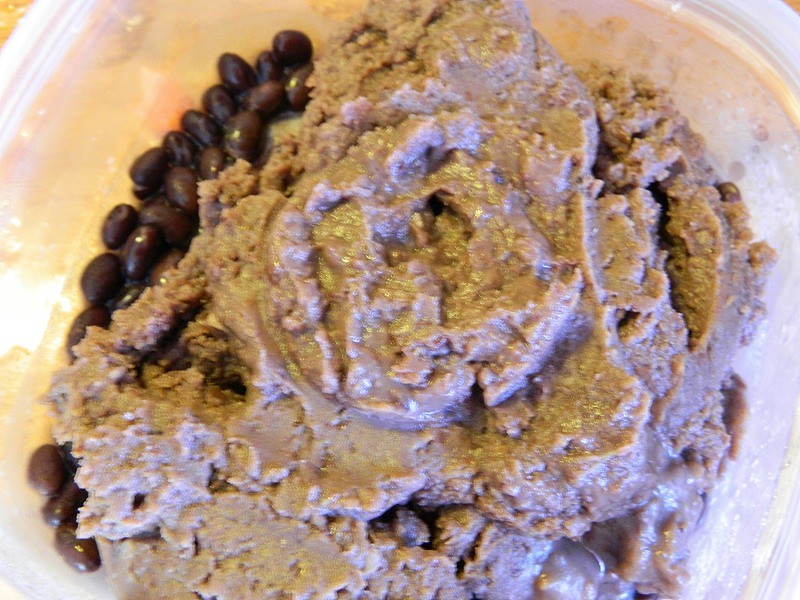
...add in a can of re-fried black beans.

(Mine are in a Tupperware because I accidentally opened the re-fried beans instead of whole black beans, so I stuck them in the fridge until I could make this dip).

Additionally, upon returning home from Costa Rica, I modified this recipe to add 1/2 can of whole black beans, drained.


Dump all your beans in with the onions & garlic and stir around.

Sorry, I couldn't get a good photo of this to save my life, but you get the idea.


P.S.  I don't know if re-fried black beans can look pretty no matter how you photo them.

Turn the temp down to low-ish (that should be a setting on your oven for sure).

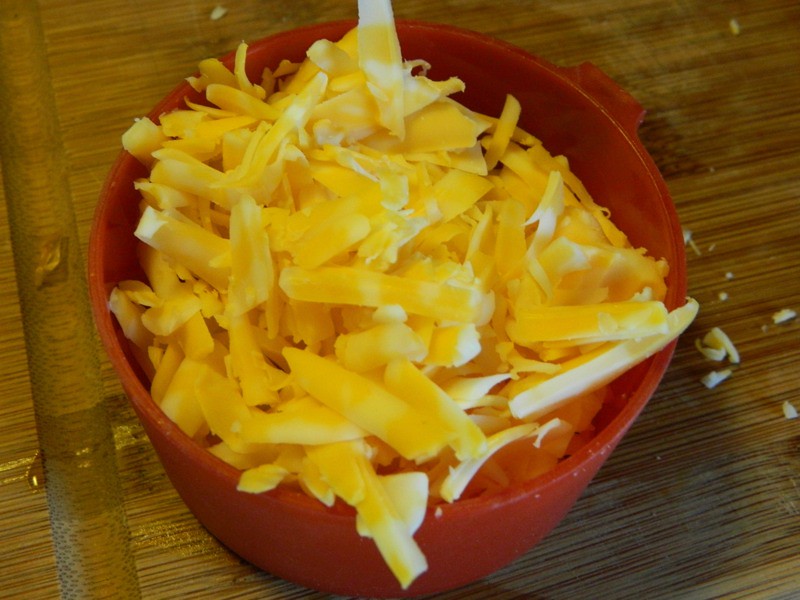
Grade up a cup of your favorite cheese...I used Colby Jack...


...add the grated cheese to the beans.
(I think this was modified too - I believe we only had processed cheese slices in Costa Rica.)

Stir it all in and get it nice and gooey.
While your cheese is melting, think of Costa Rica (this is a recipe requirement)...


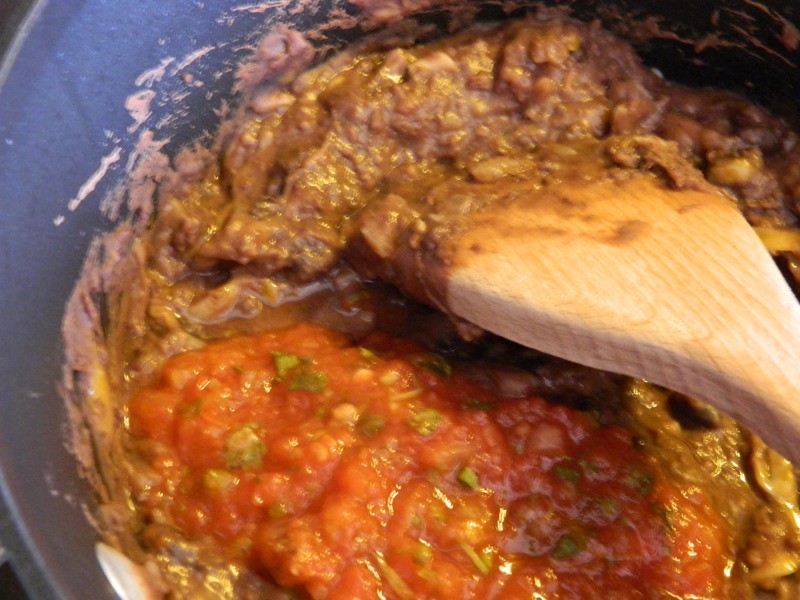
...then add in 1/2 cup of your favorite salsa...
I used some pico we had left over from a BBQ.
Anything to give it spice will do, even Pace.


Mix the salsa into the bean/cheese mixture.
And now the fun part!
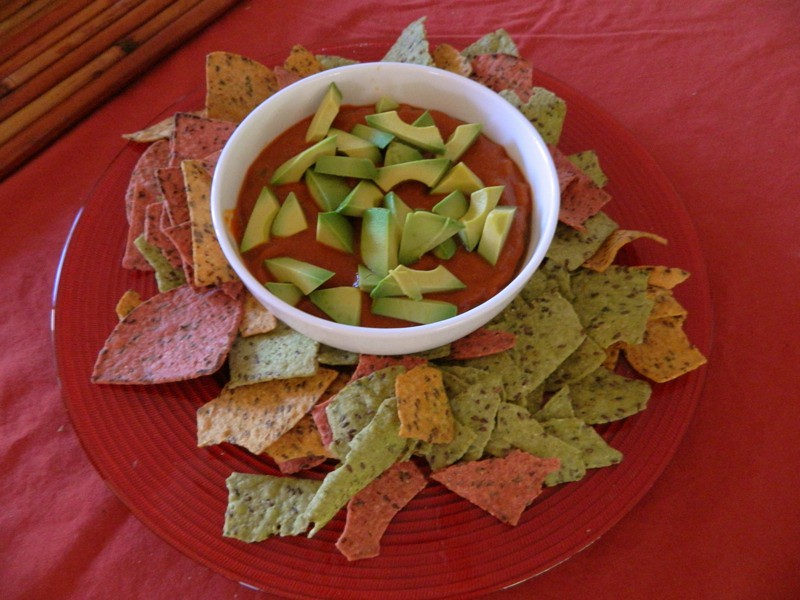
Put your dip in a bowl.
Cover the whole top of the dip with your favorite hot sauce, top with chunks of avocado,
surround with chips...
Viola!


Now, a note on the hot sauce:
I think Tabasco would be too watery for this, not to mention it would probably take 100 years and the whole dinky bottle to cover the top of your dip.
You could use the same salsa that you mixed in to the dip, but I prefer a hot sauce on top as opposed to a salsa, that's just me though....


Personally, I think the best hot-sauce topper for this would be Cholula..
But.
This time I used Siracha....


...and Nana just about burnt her mouth off because I didn't warn her in time.

So, the idea is, as peeps dip, the hot sauce runs down into the beans.
But if you use lip-burning sushi hot sauce on your Costa Rican bean dip, provide a warning label.
Just Sayin'.

The Oso agrees with me...


...just ask him.

Meanwhile, enjoy your Costa Rican Black Bean Dip.


P.S.S.  The left-overs of this are really good inside a tortilla.  Burrito Presto!

Ingredients:

1 small white or yellow onion, chopped
2-3 cloves of garlic, minced
1 tablespoon of butter
1 15oz can of re-fried black beans
1/2 15oz can of whole black beans, drained
1 cup of grated cheese, whatever your favorite is
1/2 cup of your favorite salsa
1 avocado, cut into bite sized chunks
4-6 tablespoons of your favorite hot sauce (enough to cover the top of the dip)

How to:

Chop the onion.
Mince the garlic.
Melt the butter in a medium sauce-pan.
Add the onion & garlic and saute until onions become translucent.
Add in all beans and reduce heat to low, stir.
Add in grated cheese and stir until melted.
Add in salsa and stir until mixed.
Put bean dip in your serving bowl.  
Cover top of beans completely with your favorite hot sauce.
Put chopped avocado on top.
Serve with chips.

The whole recipe is also available at Tasty Kitchen!


Print Friendly and PDF

Pumpkin Madness Day Two - Spicy Pumpkin Hummus


Let's start at the end instead of the beginning....
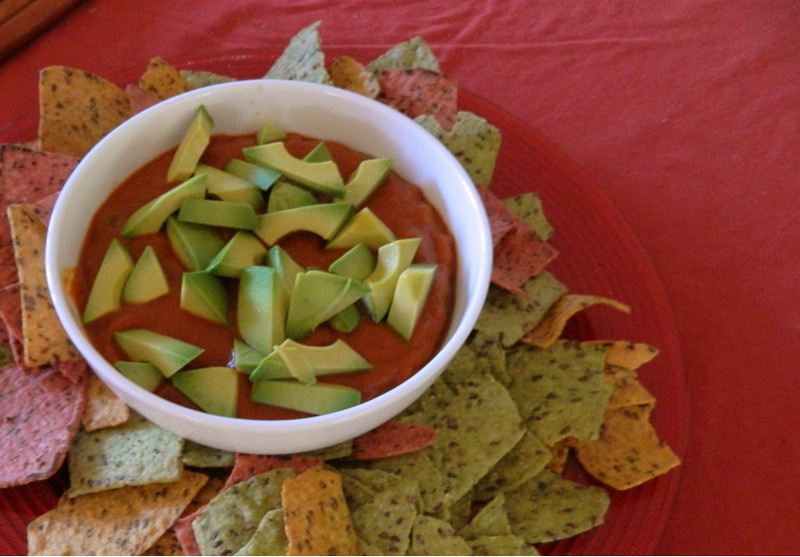
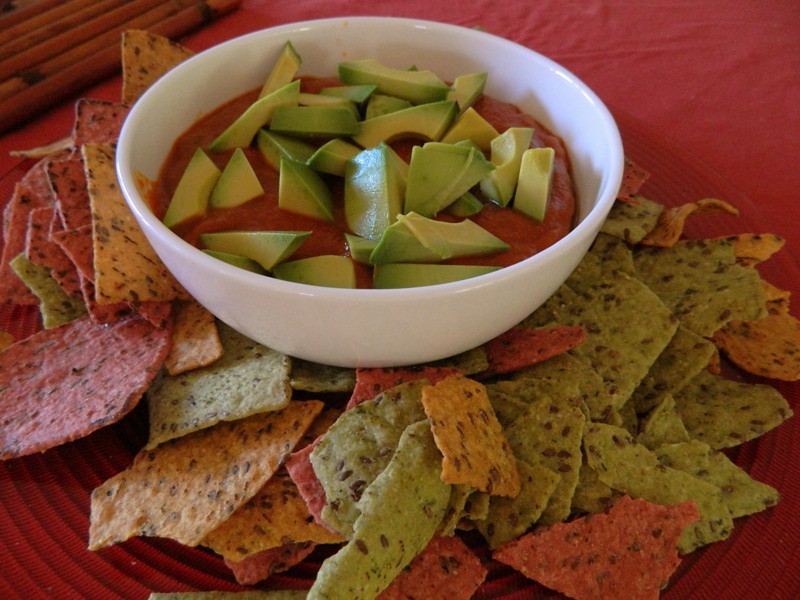
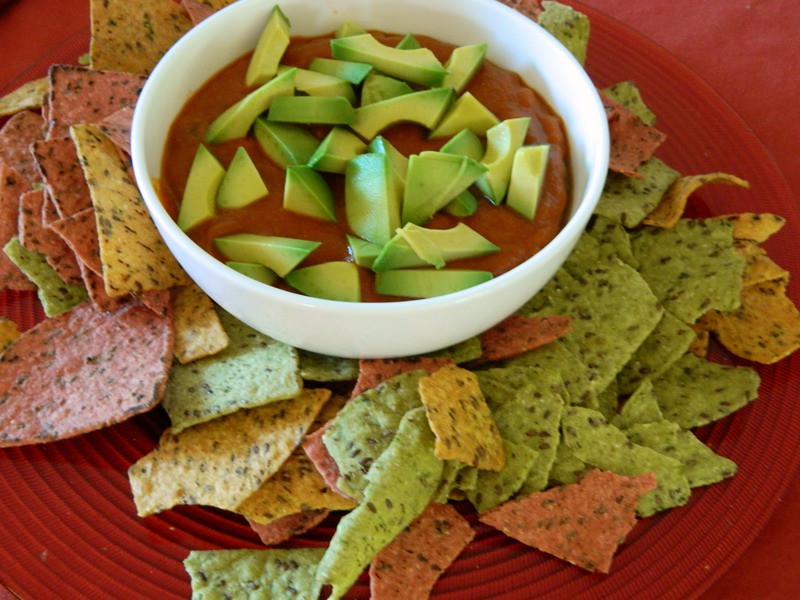
Ladies & Gents, introducing Spicy Pumpkin Hummus....


YUM.

Why am I starting at the end?
For a few reasons.
1.  It took me much longer to produce this result than I originally anticipated (SWS strikes again).... I imagined the idea on October 7th and shared it with the Twitterverse....


The Cyclist's Wife
A brilliant Fall recipe idea just popped into my mind. Can't wait to see if it tastes as good as it sounds!
....but didn't actually produce until now.  Not exactly speedy.

2.  When I finally got around to making this, The Cyclist was out of town with our camera...

(not bad right?  The Cyclist is a better picture taker than me)

Anyway.  

I was left at home with my iPhone.  And Hipstamatic.
So I decided to get artistic and use the shake feature after each set of photos.
The result is the schizophrenic photo montage you will see below.

3.  I sort of turned into a mad scientist while making this.  Do you know how much it takes to get pumpkin spicy?  Well, you'll see below.  

So, with my delay, crazy photos and mad scientist approach, I figured you'd all be scared away if I showed you this ↓ hot mess first & I think you deserved to see the end result first after waiting so long.

Don't be scurred.  The Spicy Pumpkin Hummus is goo-ood!

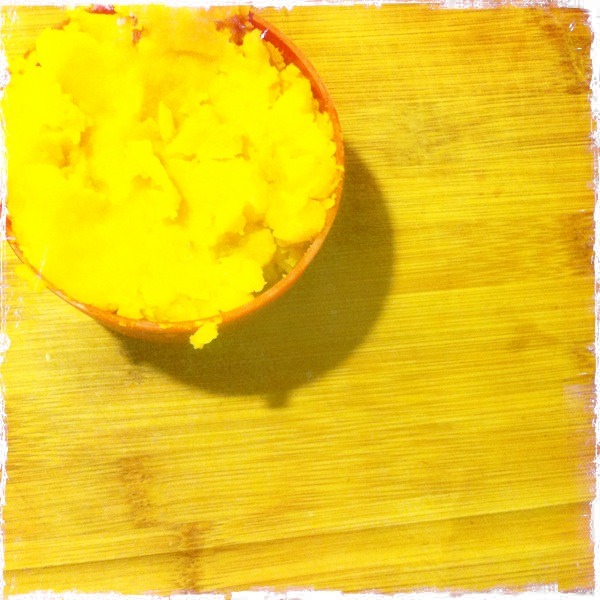
I roasted my own pumpkins and used 1 cup of fresh pumpkin. 
You can probably use canned too...I saw some organic canned pumpkin at my local co-op the other day.


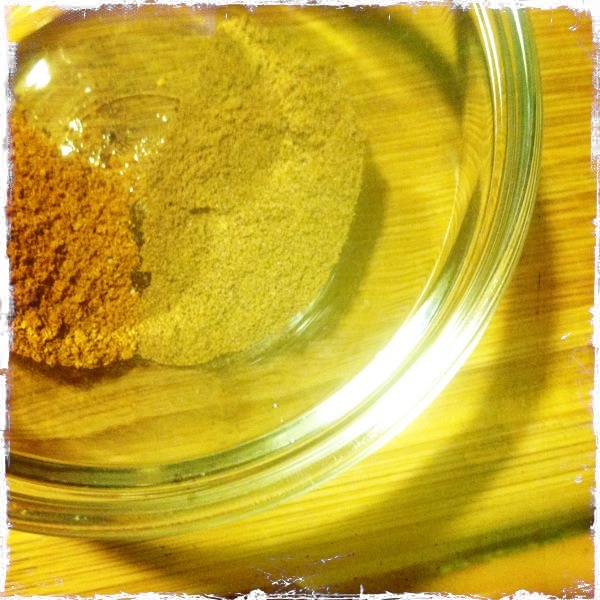
Some of the many spices.....


I used this method for preparing the Tahini.  
I did not use the same ingredients or ingredient measurements though.

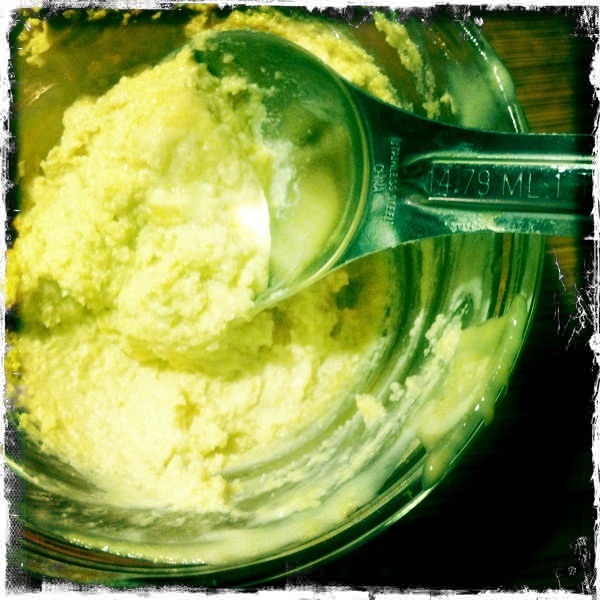
Curdled....


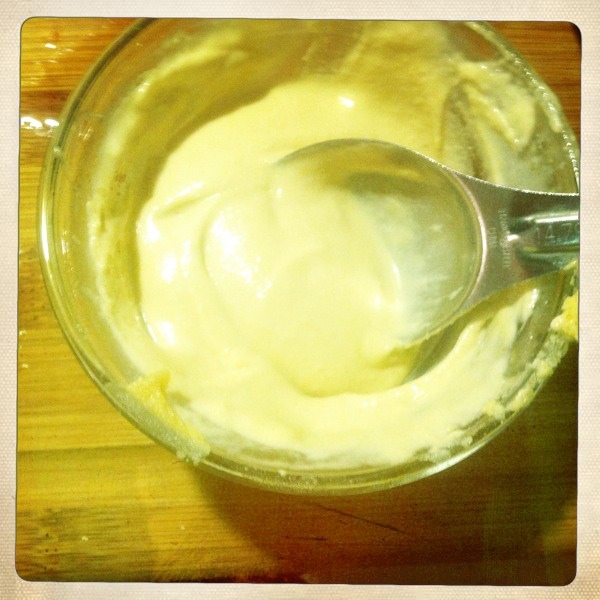
Smooth...


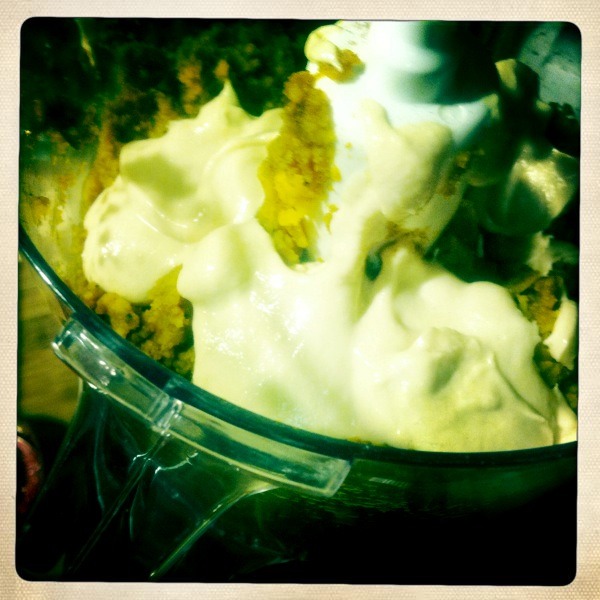
Tahini mix into pumpkin mix....


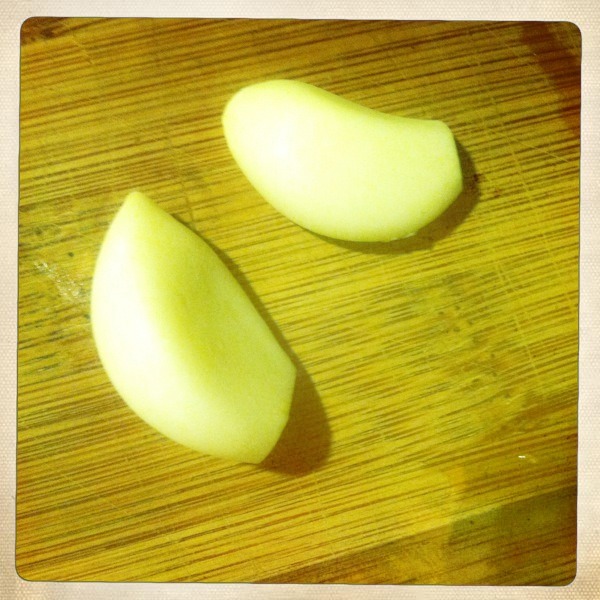
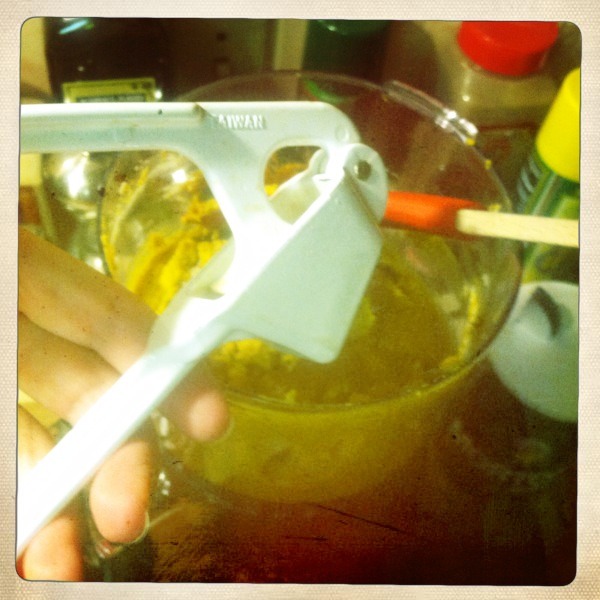
.....gotta have some garlic....


I crushed mine...


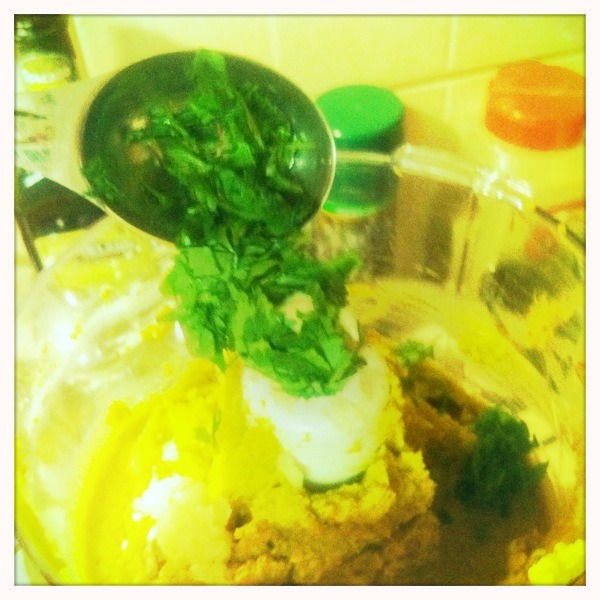
Cilantro...


When I got this I wasn't anticipating using it in hummus, but it did the trick!


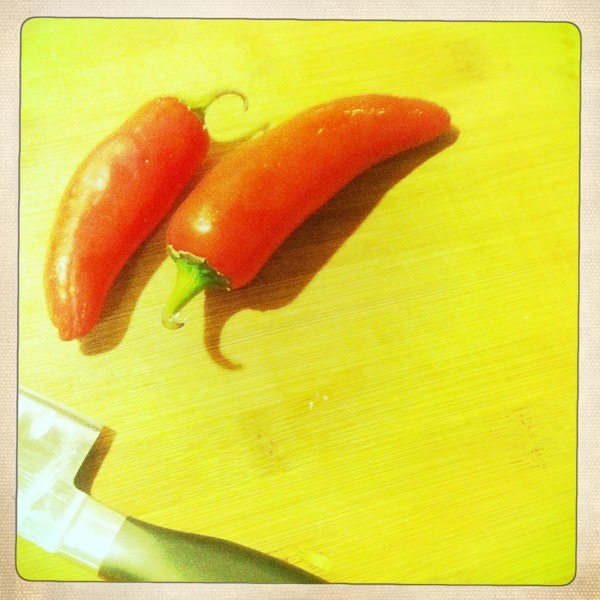
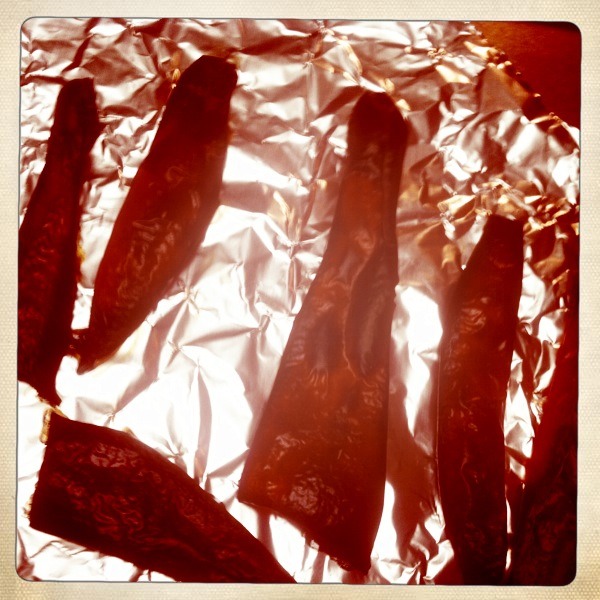
Red hot peppers...


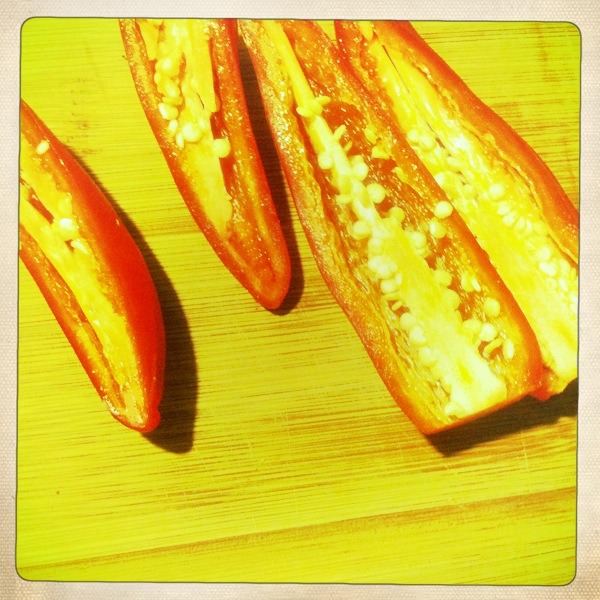
...cut...


...cored & ready to roast...


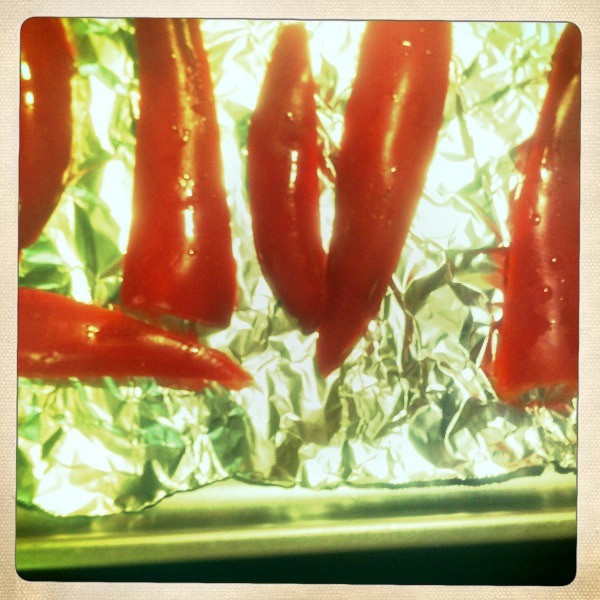
....roasted...


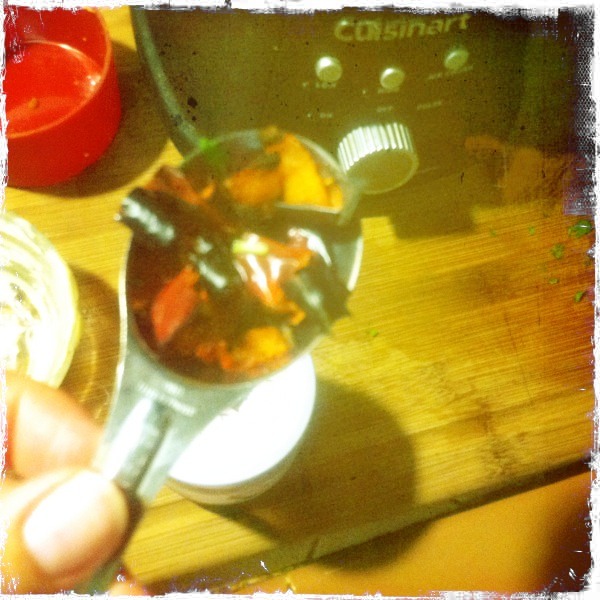
...chopped up and being added to the mix...


Here is what my kitchen looked like upon completion.
Crazy town.


Let me just say, miracles do happen to hummus overnight.
At this point in making the hummus, I though it was a recipe fail.
I threw it in the fridge and said "I quit".
The next day, it tasted good.
The day after that, it tasted really good!
Enjoy.
Recipe below & at Tasty Kitchen
What:
1 cup fresh pumpkin (or canned)
1 cup garbanzo beans (aka chick peas, drained)
1 tsp. allspice
1 tsp. garam masala
1 tsp. salt
1/2 tsp. chili powder
1/2 tsp. garlic pepper
1/2 tsp. red cayenne pepper
1/2 tsp. cinnamon
1/4 tsp. cumin
1/4-1/2 cup water + 1 tbsp water
2 tbsp. tahini
3 tbsp. fresh lemon juice
2 cloves garlic (crushed)
2 tbsp. fresh cilantro (chopped)
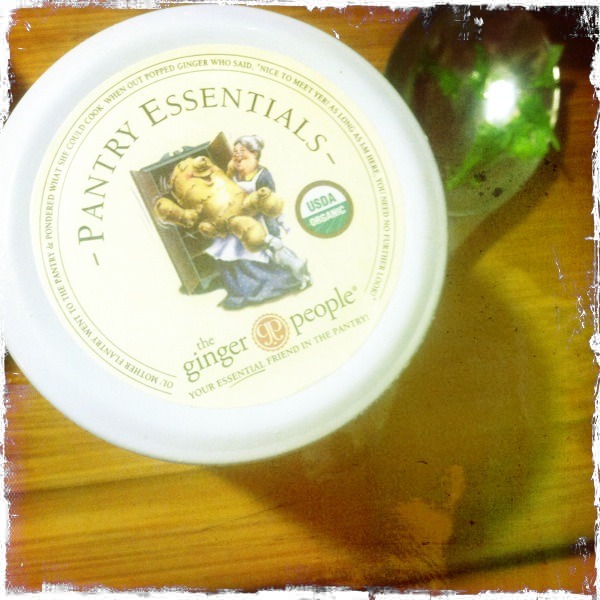
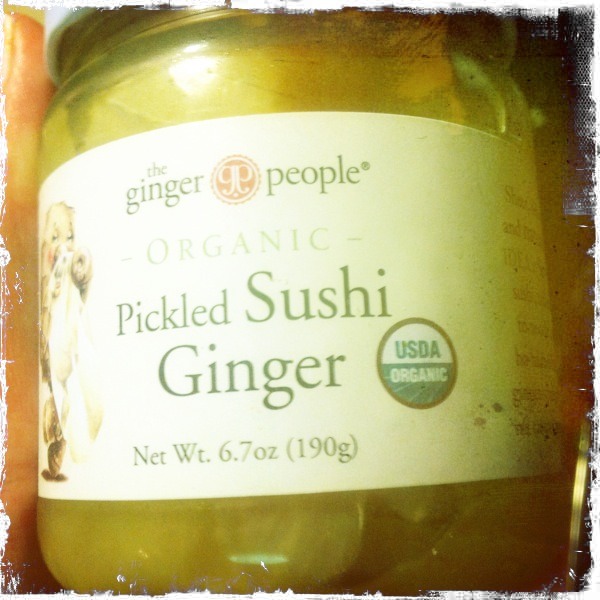
2 tbsp. pickled ginger (or less fresh ginger)
2 tbsp. chopped roasted red hot pepper
2 tbsp. honey
4 tbsp. olive oil

How to:

Slice & core the hot pepper.  Place it on a cookie sheet and high broil in your oven until the skins turn black.  Put them in a plastic bag to steam for about 15 minutes.
While the peppers are roasting, put the pumpkin in a food processor.
Mix all of the dry spices and add it to the pumpkin, blend.
My pumpkin mix was not that smooth at this point, so I started adding water by the tablespoon.  I used about 1/2 cup all together.
In a separate dish, mix the tahini with the lemon juice.  It will start to curdle at first, then become smooth as you mix it.  Add the additional 1 tbsp. of water to this mixture to help it become smooth.  Once the mix is smoothed out, add it to the pumpkin mixture and blend.
Add the cilantro and pickled ginger to the mixture and blend.
Your peppers should be about done.  I tried to peel the skin off of mine and it didn't work, so I chopped them, skin on, and added them to the pumpkin mixture, then blended.
You will have to blend this quite a bit, stirring in between, to make sure you don't have any chunks of ginger or red pepper.
Once the mixture is smoothed out, add the honey and blend.
Last, add the olive oil and blend well.
Put the completed hummus in a sealed container in the fridge overnight.  The flavors will meld and it will be good to go the next day.

We enjoyed this with Indian Naan bread from Trader Joe's.

I'm linking at the following sites:
The Healthy Home Economist
New Life on a Homestead
Make Ahead Meals for Busy Mom's
My Sweet & Savory
Hey What's for Dinner Mom
Delightfully Dowling
Simply Sugar & Gluten Free
All the Small Stuff
Real Food Forager
Growing Home
Kelly the Kitchen Kop
The Tasty Alternative
The Kings Court IV
The Gluten Free Homemaker
This Chick Cooks
Lady Behind the Curtain
We are that family
Miz Helen's Country Cottage
Pennywise Platter
Food Renegade
Ann Kroeker. Writer.
Food Trip Friday
Real Food Freaks
Life as Mom
Tidy Mom
Little House in the Suburbs


Print Friendly and PDF
Pin It button on image hover